Launching your EC2 instances with AWS Management Console
How easy this can get, when I was starting with Amazon Web Services the things were looking kind of scary but right now we have bunch of tools to help us using the amazon EC2 instances so easy that I just cannot belive that. I knew that AWS Management console existed for quite a bit now but never actually gave it a try. Today I will do just that, I have some experience with EC2 and I’m running constantly one server on it for over a half a year now but I guess this tutorial would be no brainer and you don’t have to have any knowledge or experience to start your own instances.
First of all, of course, I assume that you are already signed up for EC2. If not you can do that by visiting this link.
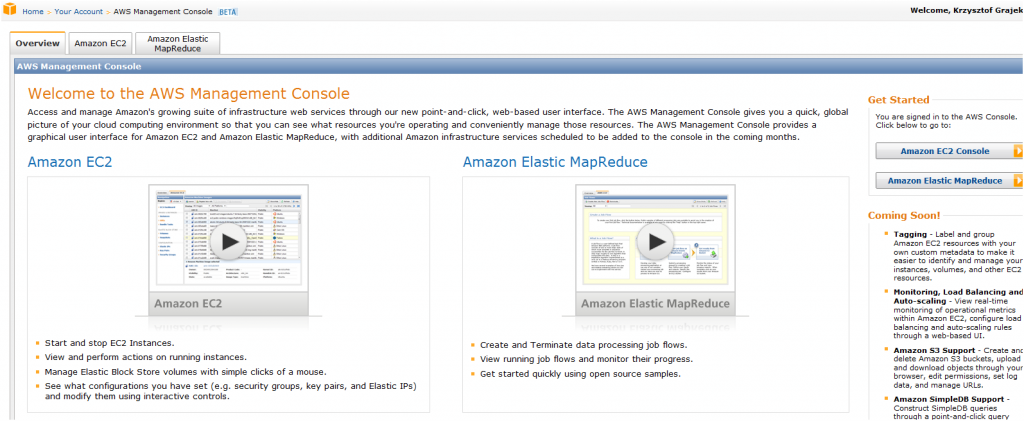
Once you have an account go to the console web application which you can find here. When you log in you should see a screen similar to this one:
Next, click on the ‘Amazon EC2’ tab and you should see a dashboard describing your running instances and resources.
If you are here, and all went well, we are ready to move forward.
Click on the big yellowish button called ‘Launch instances’ in the middle of the screen to start the journey into the cloud. Here you get a box with three tabs where you can look for specific instances you are interested in. You can choose between ‘Quick Start’ listing a few example AMIs, select your own instances created earlier (see my post on backup up the whole EC2 image), or simply search for already created community AMIs. We will choose the last option and search for ‘ubuntu’ but its really your choice and here the fun begins. I have choosen Debian 5.0 Lenny base install image but you can choose whatever you want. Its worth to have a look at the following site where you can browse AMIs, see a bit more information about them than on the AWS Management Console and see the discussion about them.
After you’ve decided which server you want to have, click ‘select’. If you didn’t have any keypairs created earlier you would have to add at least one to be able to launch your instance.
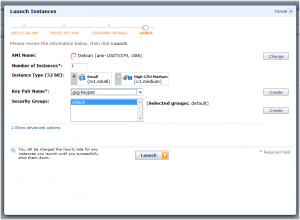
Select number of instances you want to run (we choose ‘1’ for now), your keypair and security group on the following screen:
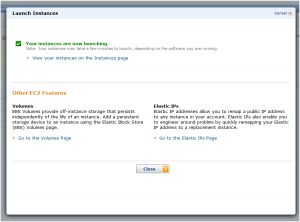
Hit ‘Launch’, you will see the following screen if all went ok:
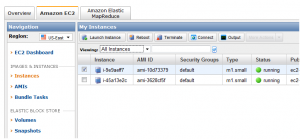
Close the window and go to your instances list by clicking ‘Instances’ on the left vertical menu.
From here you can reboot and shut down your instances.
But wait, the best part is still to come, when you are on your console ‘Overview’ tab, you can see the ‘Coming Soon’ part describing upcoming functionalites for AWS Console, those include:
- Monitoring, Load balancing and auto scaling
- SQS support
- S3 Support
- CloudFront Support
- SimpleDB Support
Amazon AWS services are becoming more and more interesting and if you haven’t already done so, I assure you that its worth checking out.


I will suggest also to use some external cloud monitoring service as http://www.monitis.com to monitor all of this and be aware regarding outages and resource utilization